Instructions for Creating a CDN Domain
Step 1: Initialize CDN Domain
– After logging into the system, select Initialize on the Dashboard, scroll through the Menu, and choose the CDN service.
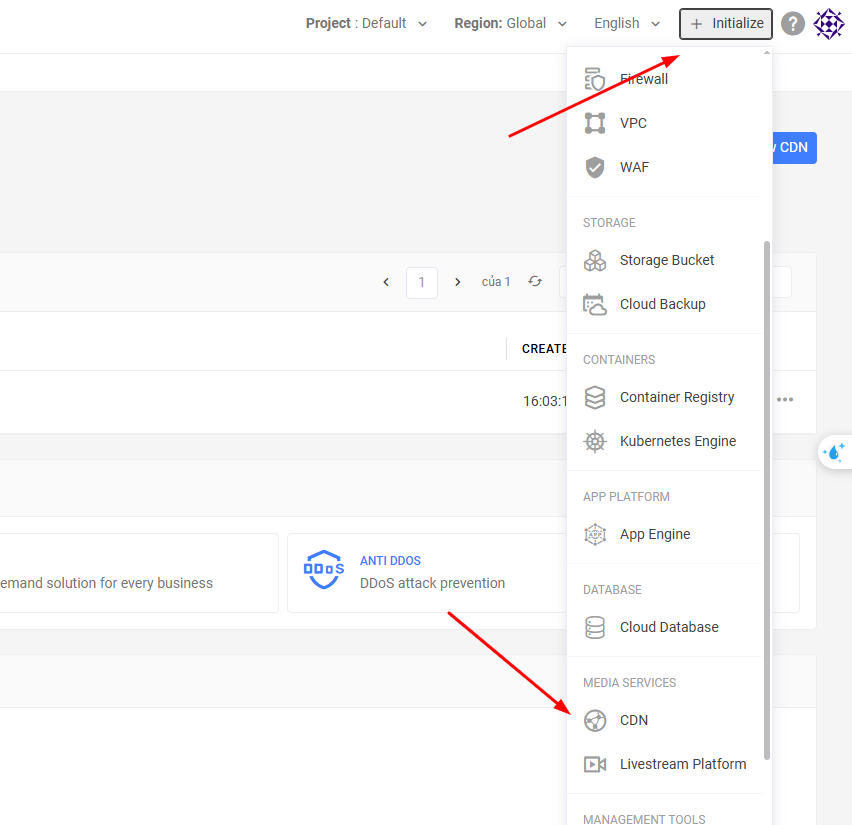
After accessing the “Create New Domain” page, proceed with the configuration as required below:
- Domain: Enter the domain name you want to use with the CDN service.
- Origin Type: Select the origin type where your data is stored.
- Origin Name: suggestive name for Origin.
Step 2: Select Origin Server
To initialize the Origin server, you select the Origin Server type, then configure it.
- Address Type: here you can choose between Domain or IP Address. For domain, you need to enter the domain value you are using. For IP address, you need to fill in the IP address value of the server or hosting you are using.
- Protocol: here includes 2 options: HTTP or HTTPS.
- Host Header: is the header parameter of the request from the CDN server to the origin server. The value entered in Host Header here is the domain name configured on the origin server to return the data to be distributed via CDN.
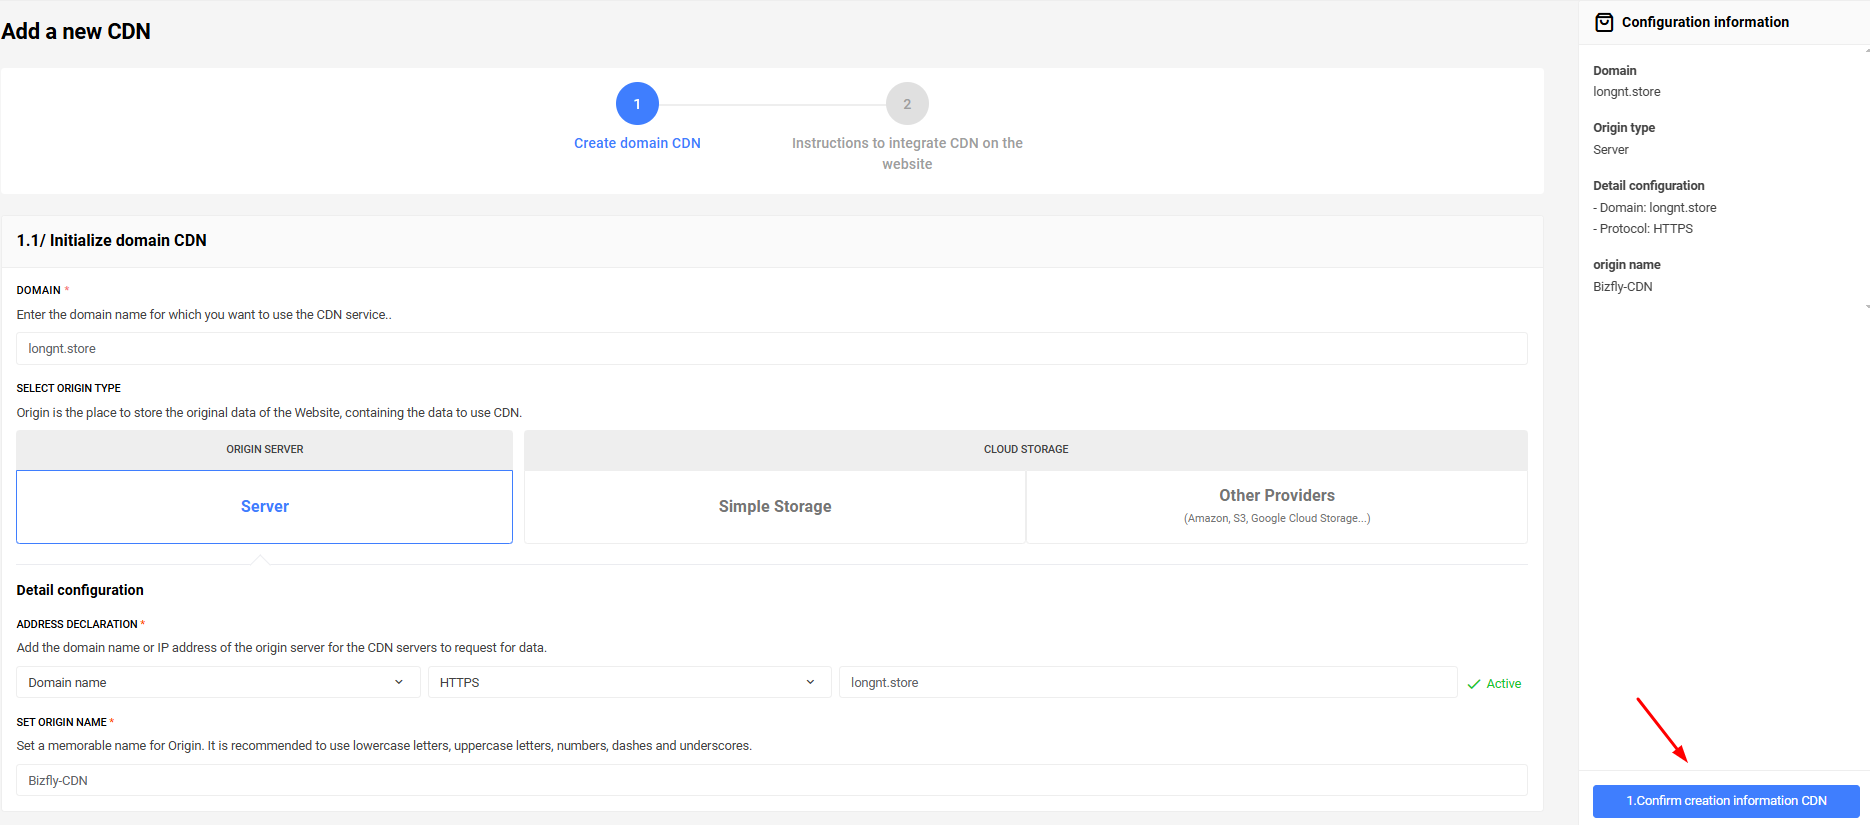
To initialize Bizfly Simple Storage, you need to configure the following items:
- Declare address: Select the bucket name containing the origin data for CDN servers to request data from. Here, please note there are 2 options: Object Storage - suitable for S3-like media storage and Static Site - suitable for S3-like static hosting.
For Simple Storage from other providers, you need to configure as follows:
- Storage type: here there are 2 options: private and public, the choice depends on the storage you are using.
- Cloud storage domain: the path of the cloud storage. It usually has the format bucket.s3-ap-southeast-1.amazonaws.com (Amazon), bucket.storage.googleapis.com (Google Cloud Storage)
- Storage region: For popular cloud storage such as Amazon, Google, etc., there will be an additional section for you to configure the data storage region.

Step 3: Finish
After completing the configuration, click Confirm CDN creation information and you have successfully created the CDN domain. The granted domain will be displayed below.
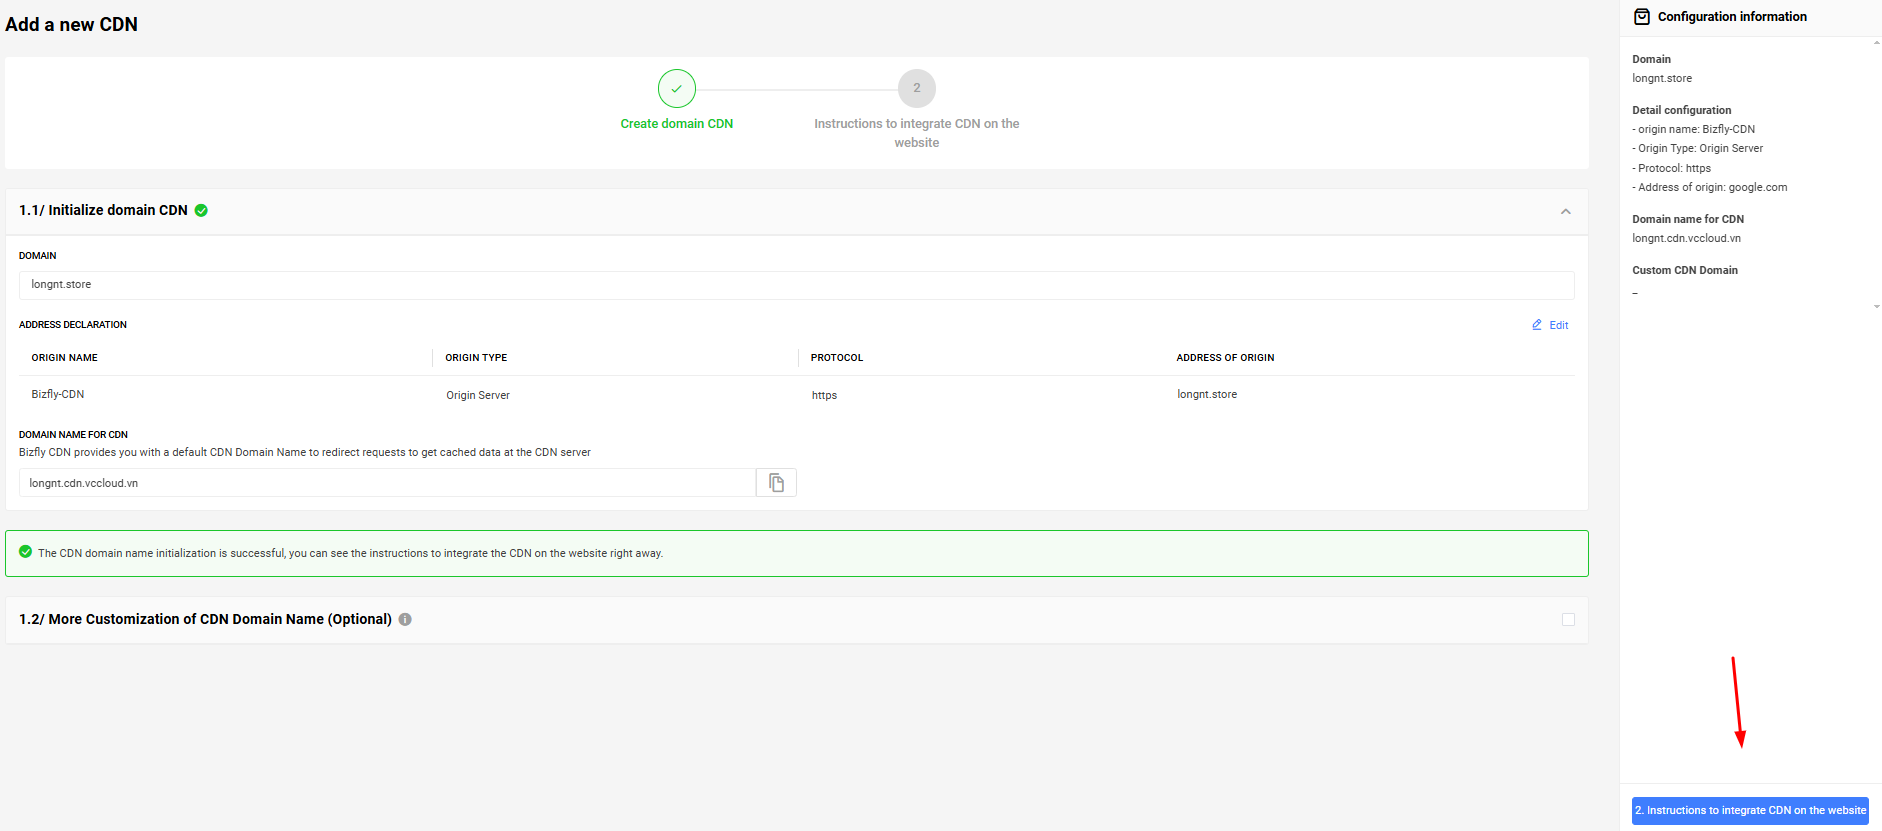
- Custom Domain: Create a custom domain to replace the default domain provided.
- SSL Certificate: The SSL certificate uploaded for the custom domain if using the HTTPS protocol.
- Check “Complete and integrate”: To complete and proceed with CDN integration for the website.
Note:
-
After creating a custom domain, it is necessary to point the DNS record back according to the instructions here .
-
Upload and manage SSL Certificates according to the instructions here .
– Select the service your website is currently using to integrate CDN.

- Instructions Integration WordPress
- Instructions Integration Joomla
- Instructions Integration Xenforo
- Instructions Integration Prestashop
- Instructions Integration Drupal
- Instructions Integration Magento
- Instructions Integration Opencart
- Instructions Manual Integration
Step 4: CDN Management
- After logging into the system, check CDN.
- Select the domain to manage. Includes the following tasks:
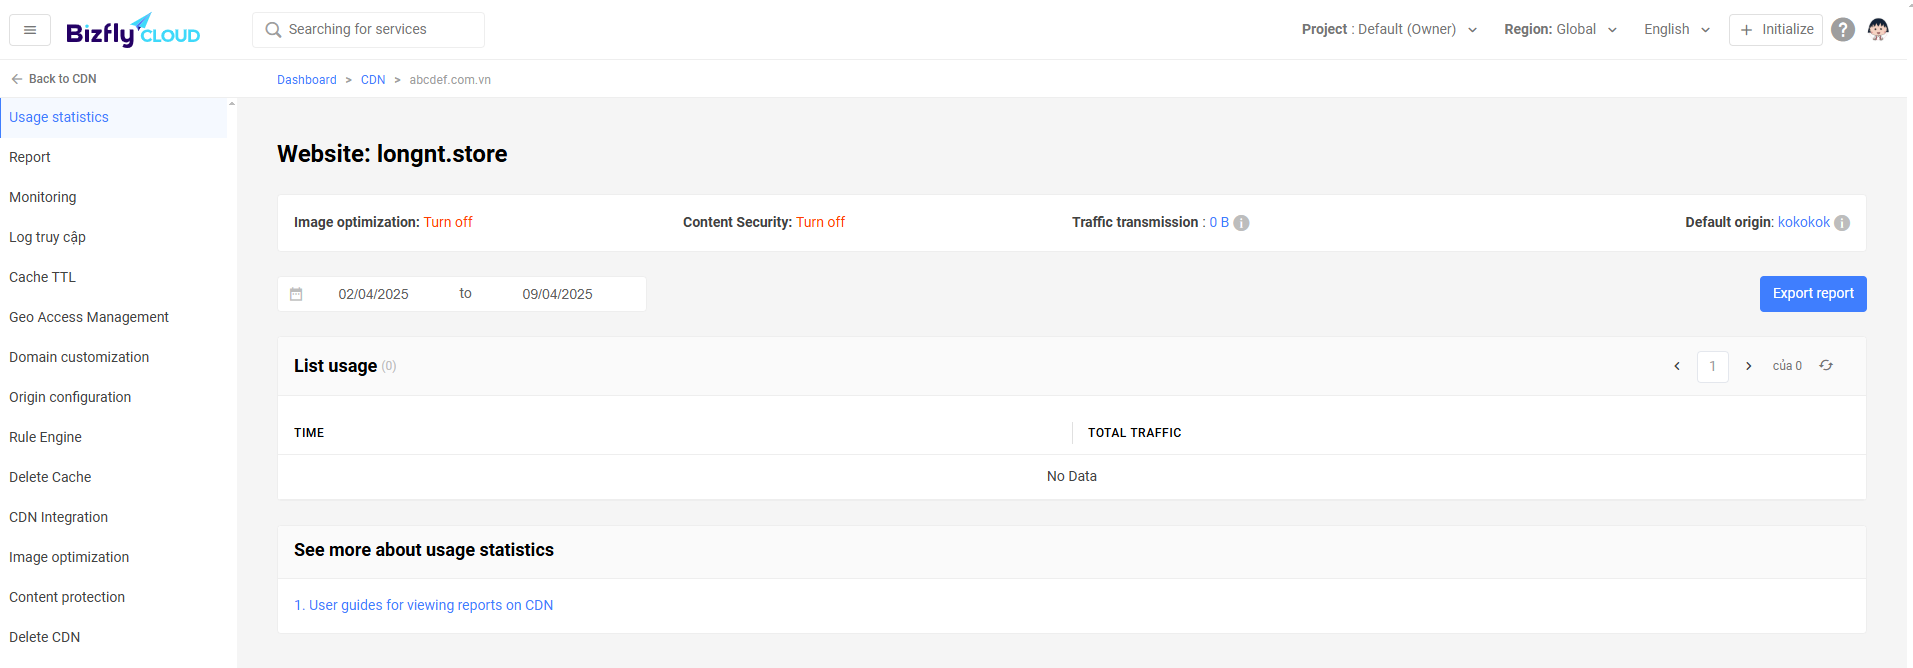
- Monitor: Track CDN usage traffic
- Use: Total CDN usage traffic by day. Updated at 00:00 PM.
- Origin server address: Update CDN domain initialization information.
- Secure connection
- Image optimization
- Domain customization: Update custom domain and SSL information.
- Integration
- Clear cache: Clear by file list or clear all cache (coming soon)
- Delete CDN: Choose to remove the currently used CDN.