Configure custom domains (Domain CNAMEs).
After initializing the CDN, the system provides a CDN domain in the format {slug}.cdn.vccloud.vn for integration into your website or application. To use your own domain name instead of the provided CDN domain, please follow these steps:
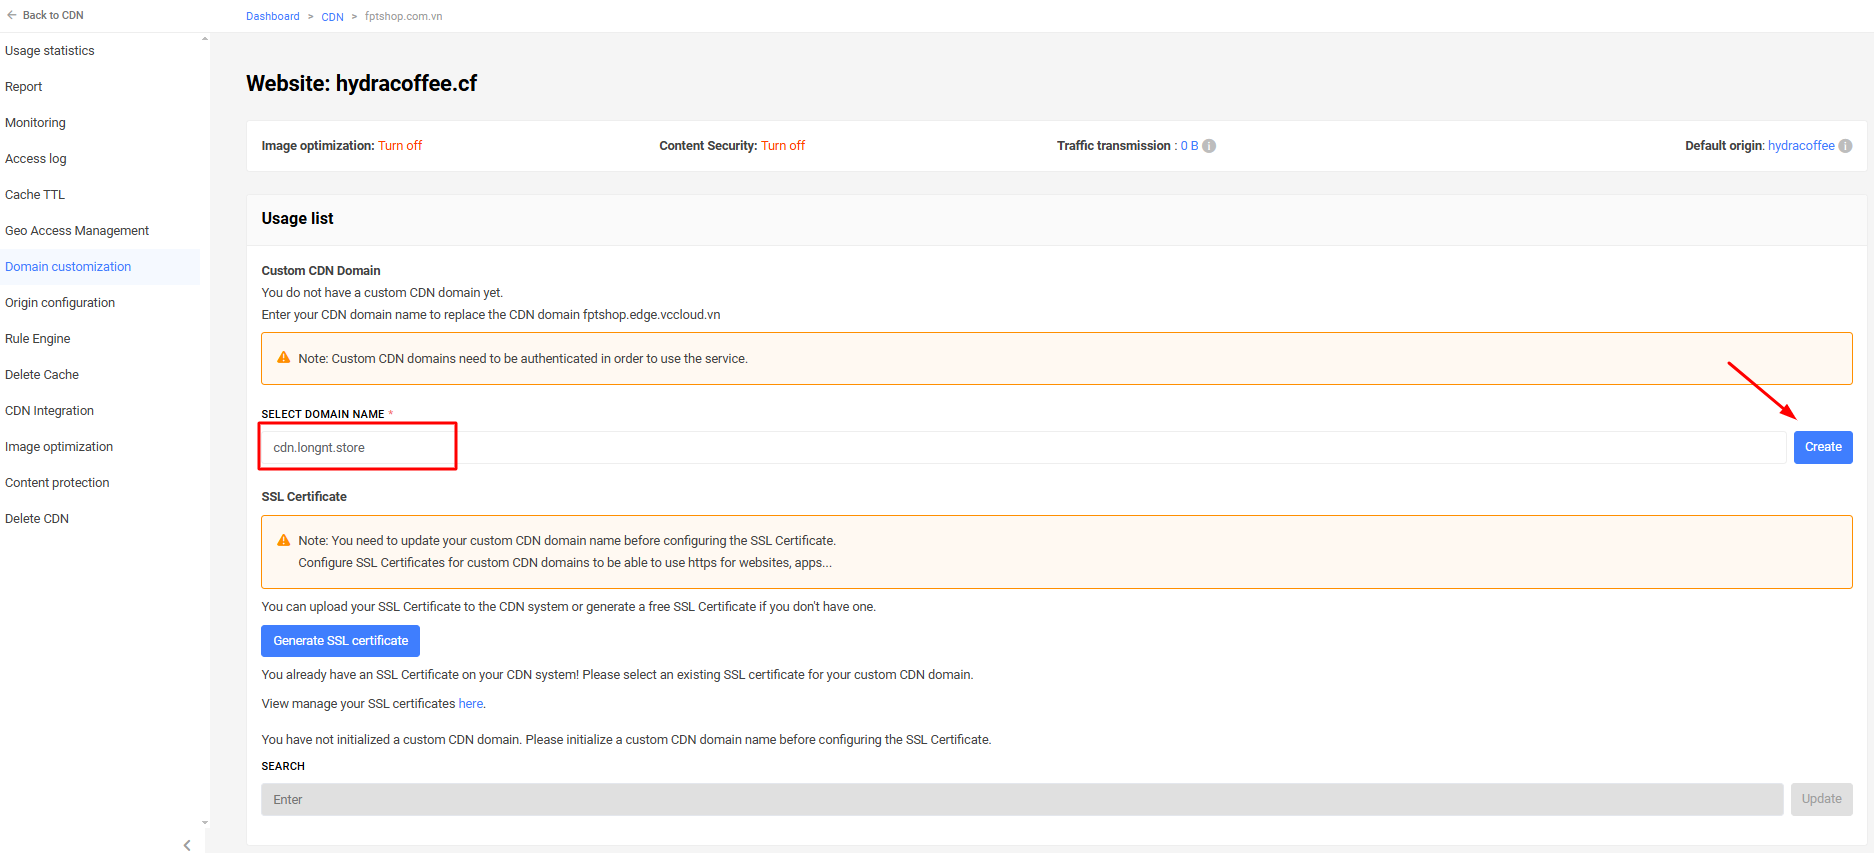
Step 1: Go to the “Domain customization” page > enter the private domain name you want to use instead of the CDN domain > Click “Create”.
Step 2: Verify custom domain

-
Verify by pointing the DNS CNAME to the CDN domain.
-
Log in to your private domain management page and point the DNS CNAME record to the provided CDN domain. For example:
Record Name/Host/Alias Value Time to Live (TTL) CNAME cdn huylvt.cdn.vccloud.vn 300 -
Check if the custom domain has been pointed to the CDN domain
$ dig +noall +answer cdn.longnt.store cdn.longnt.store. 300 IN CNAME longnt.cdn.vccloud.vn. longnt.cdn.vccloud.vn. 150 IN A 222.255.27.187 longnt.cdn.vccloud.vn. 150 IN A 222.255.27.184 longnt.cdn.vccloud.vn. 150 IN A 123.30.242.10 longnt.cdn.vccloud.vn. 150 IN A 222.255.27.45 longnt.cdn.vccloud.vn. 150 IN A 123.30.242.13 -
Click button “Verify”
-
-
Verify by uploading a .html file to the origin.
- Download the verification file (.html) from the CDN provider’s website.
- Upload the downloaded .html file to the root directory of your website.
- Access the verification link using a web browser or the curl command to check if it’s working.
$ curl http://cdn.huylvt.com/bizflycloudbdfcf1c61a583edfa9c97296da7eec41.html BizflyCloud Verify: bdfcf1c61a583edfa9c97296da7eec41 - Click button “Verify”
Step 3: You can check if your custom domain is working correctly on the CDN system by setting up a host file entry.
$ cat /etc/hosts
123.30.242.10 cdn.huylvt.com
Step 4: Configure SSL (in case HTTPS protocol is used).