Create Recipients
To receive alerts, users need to set up alert recipients. This recipient is designed like a phone directory. The information of a directory includes: Recipient’s name, Email, Phone number, etc.
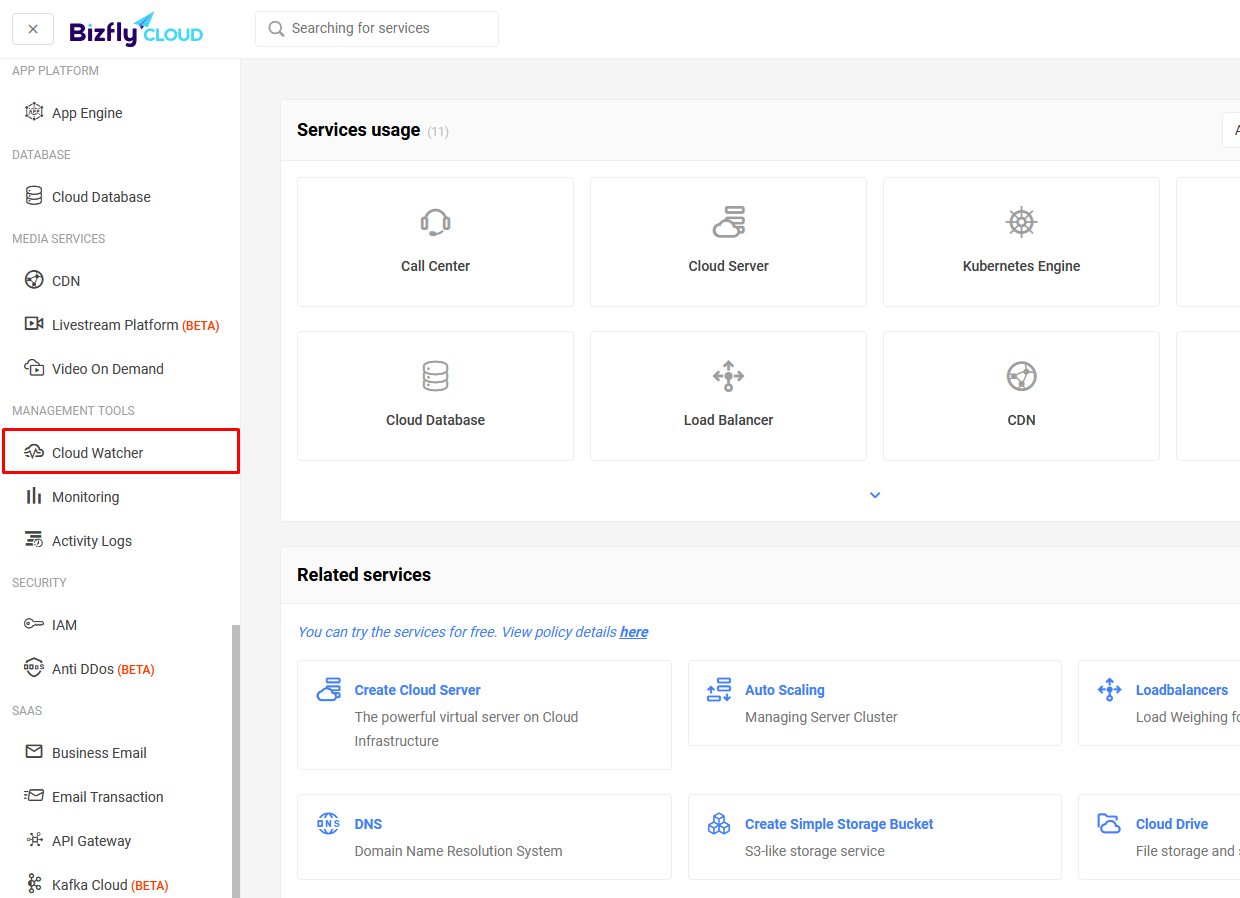
Access and use the service through the All Services menu and select Cloud Watcher
1. Email, SMS
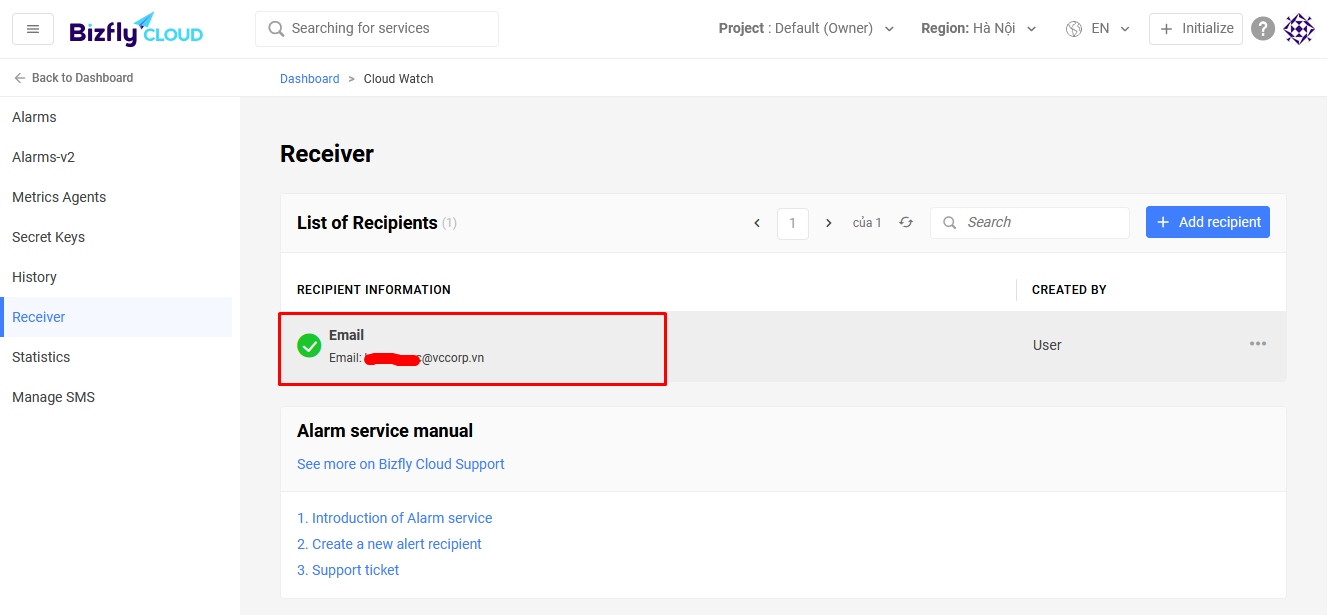
Select Recipients
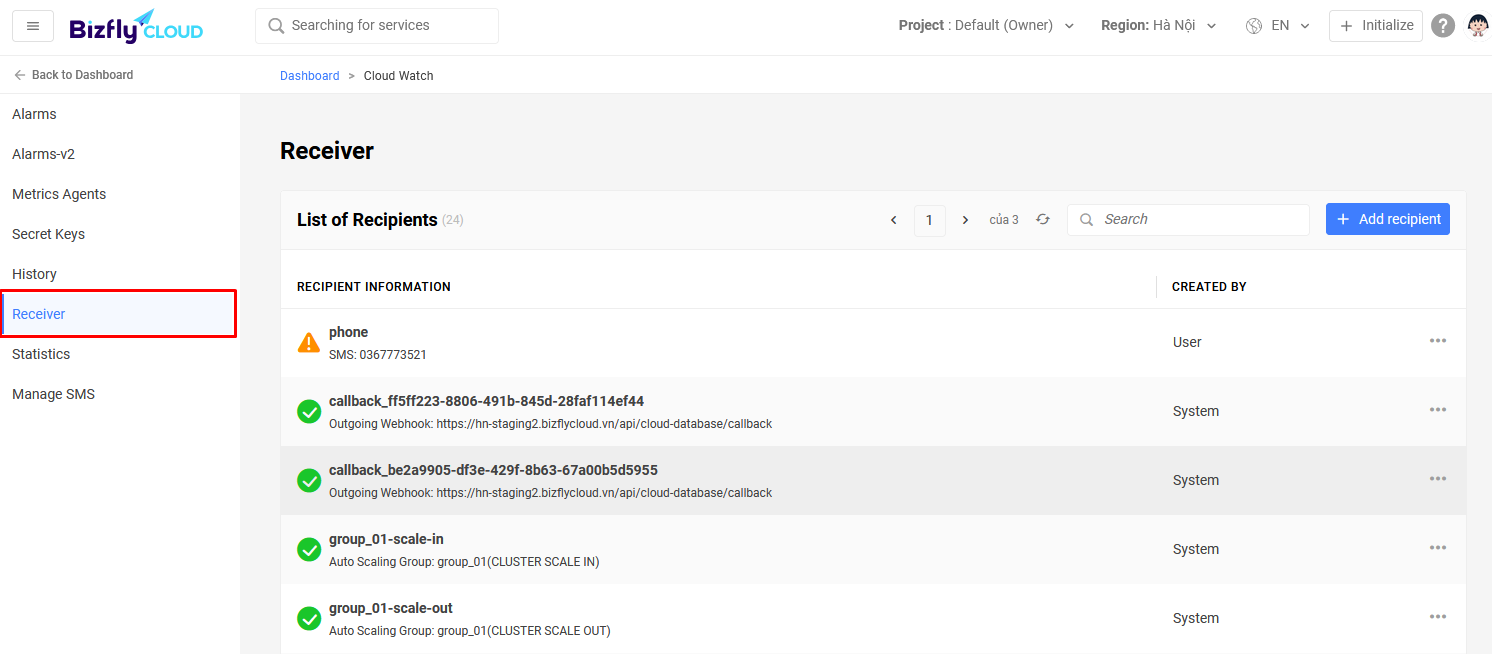
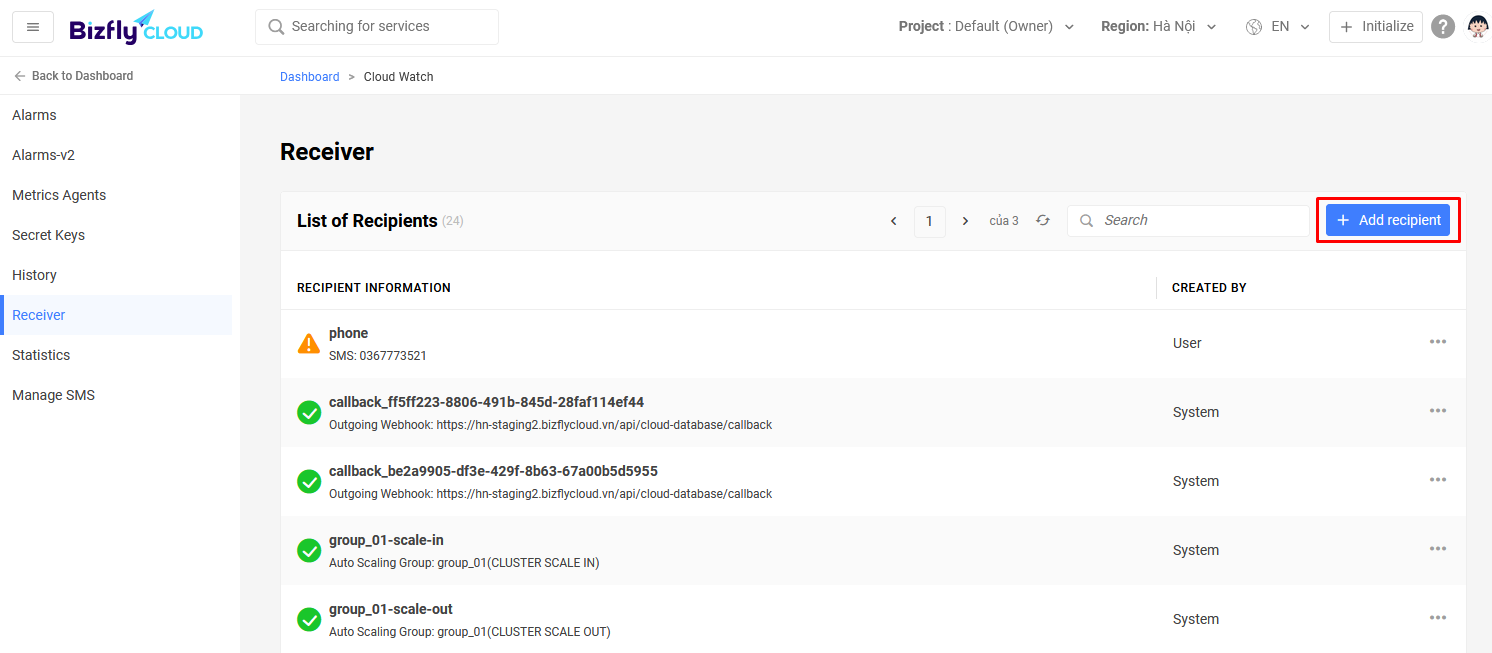
Here, the list of created recipients will be displayed. Select Add Recipient to create a new recipient.
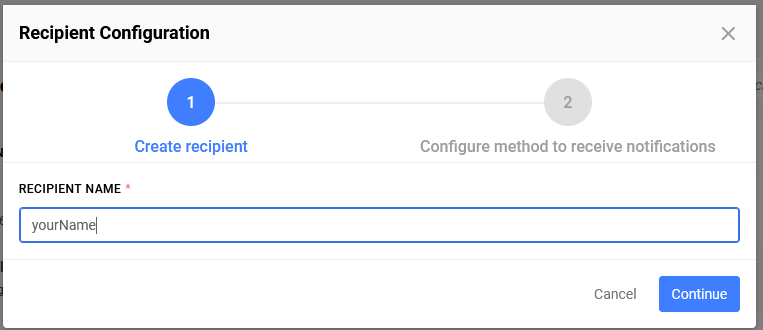
Enter the necessary information, here is the recipient’s name, then select Next
At this step, choose the methods and fill in the corresponding information. For each piece of information, you need to select Save to save the entered information.
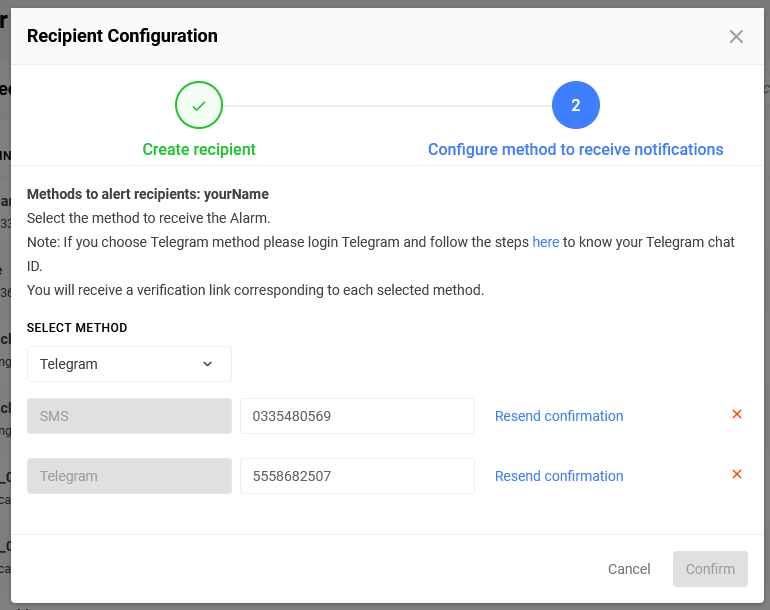
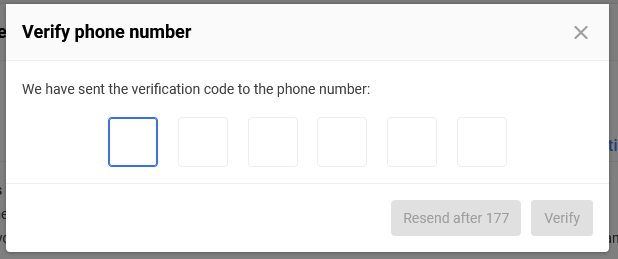
For the SMS method, when entering, selecting Save will require entering an OTP to verify the phone number (if the phone number has not been verified for another recipient).
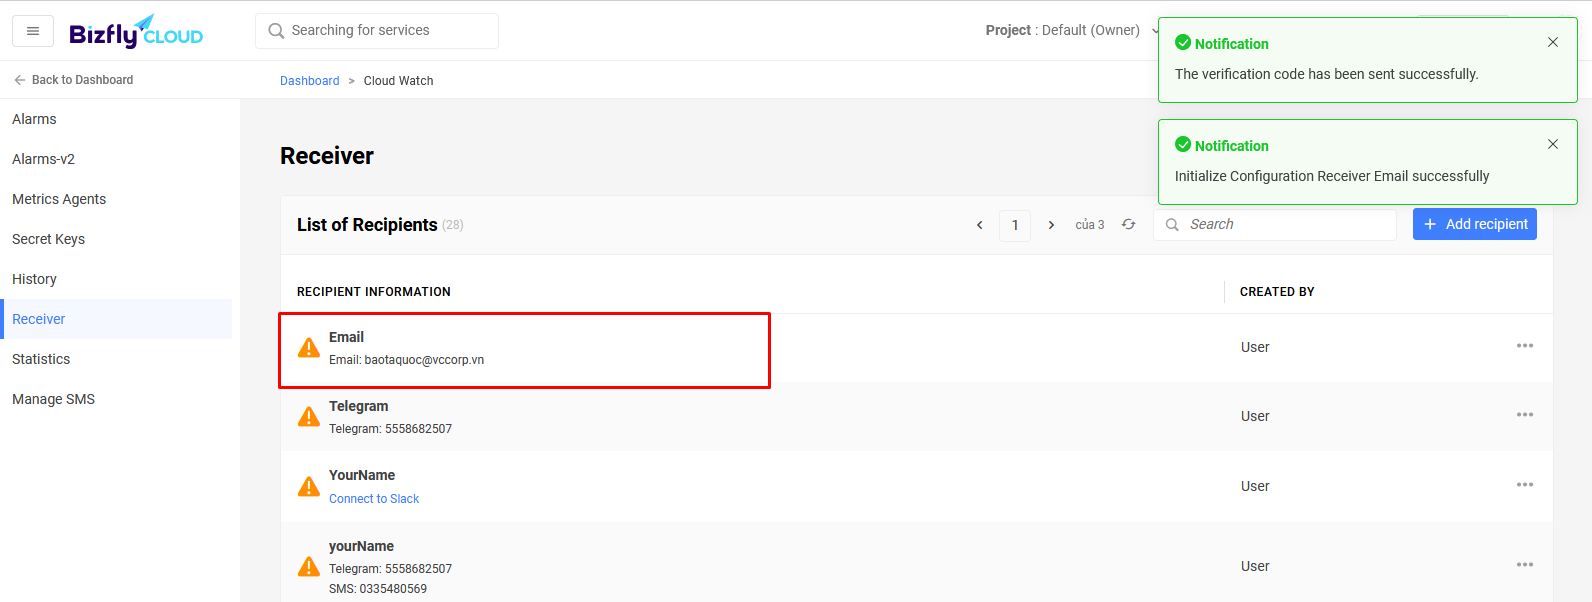
After creating the recipient, there will be a yellow exclamation mark icon indicating it has not been verified.
Go to the email and click on the verification link.
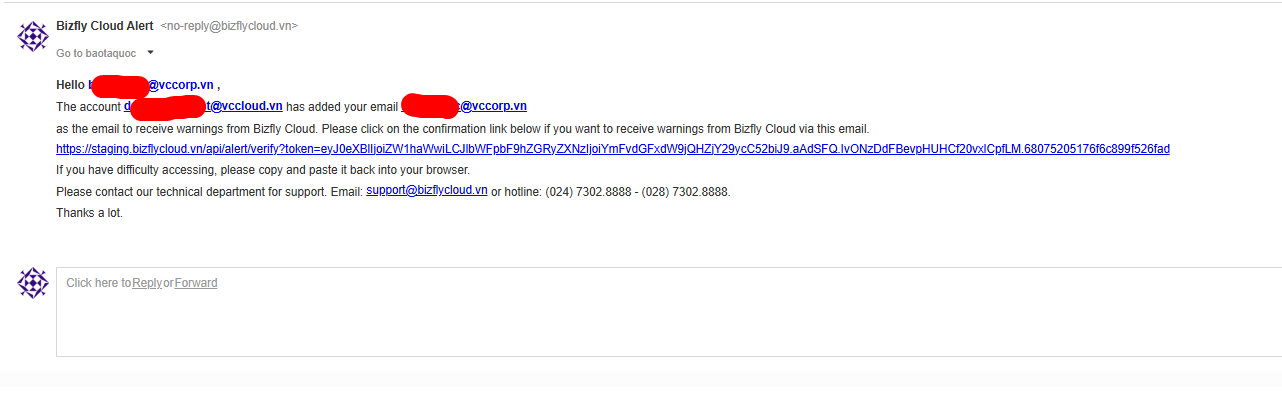
When using the link received via Email to successfully verify, the icon will turn green.
2. Telegram
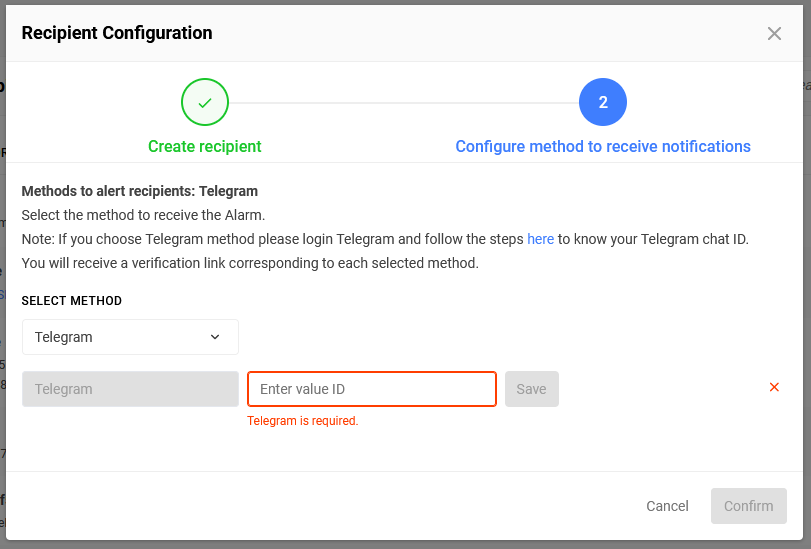
Similarly, to create a recipient with Telegram. Click to create a new recipient, select the Telegram method, click on the word here (MANDATORY) to get the Telegram Chat ID, and also to activate, allowing the Bizfly system to send alert messages to that Telegram Chat ID:
Enter /get_chatid into the “bizfly cloud” Bot and send it to receive the Telegram Chat ID:

Enter the received Telegram Chat ID into the Telegram Chat ID section and select Save:
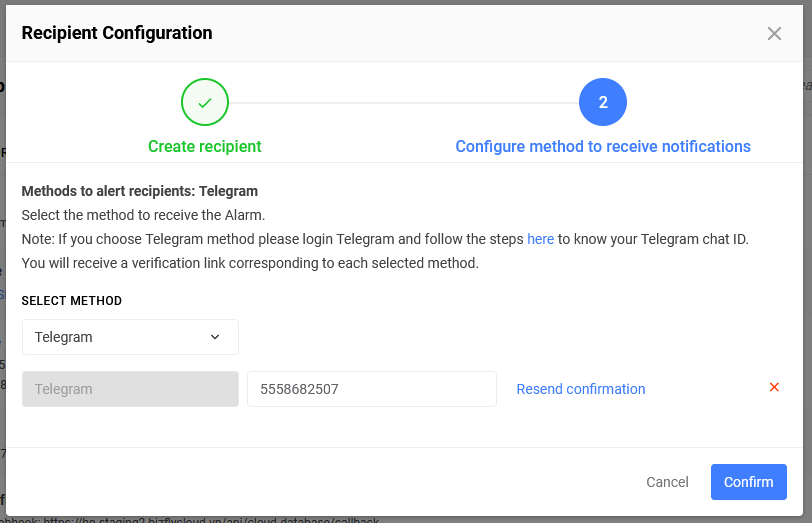
You will receive a Telegram Chat ID verification link:
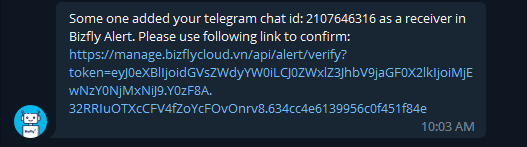
After successful verification, the recipient will be considered verified.
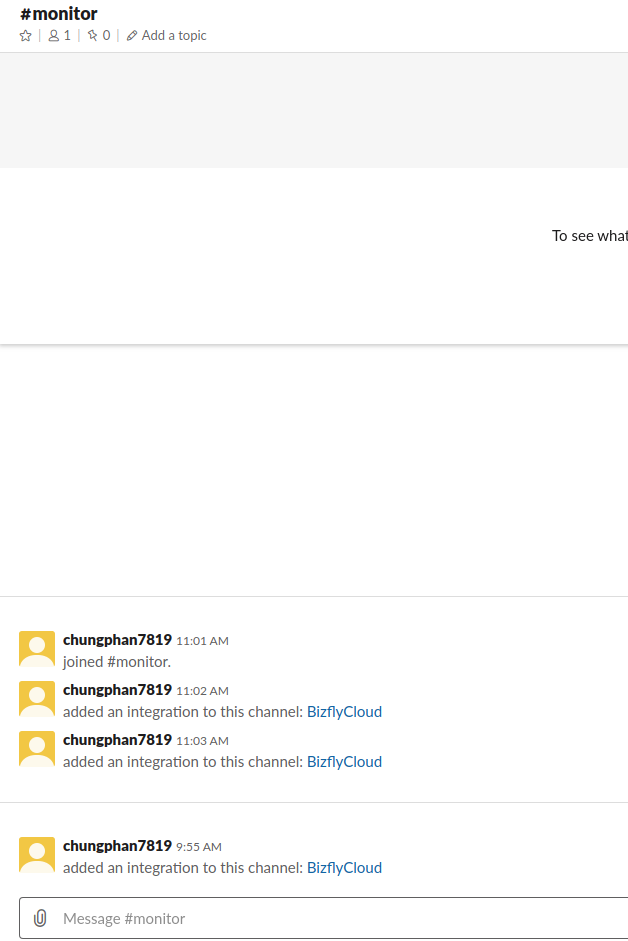
3. Slack
To create a recipient with Slack, click to create a new recipient, select the Slack method.
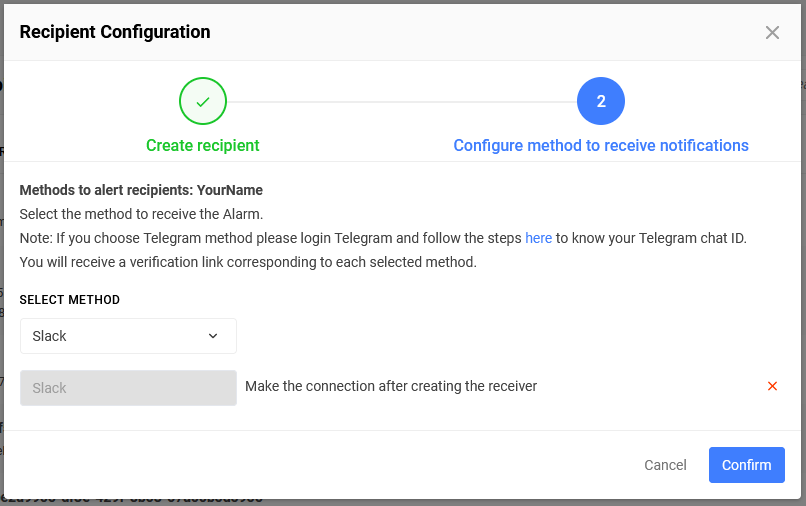
Enter the recipient’s name and press Create Recipient
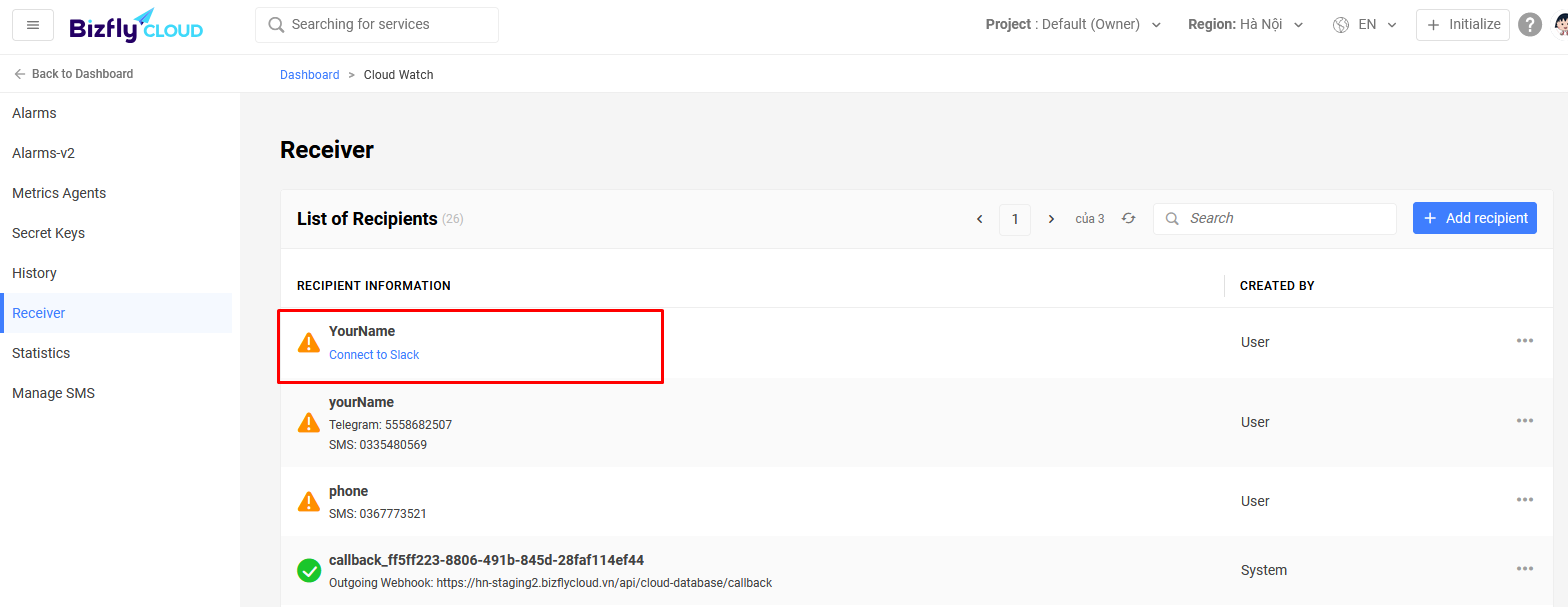
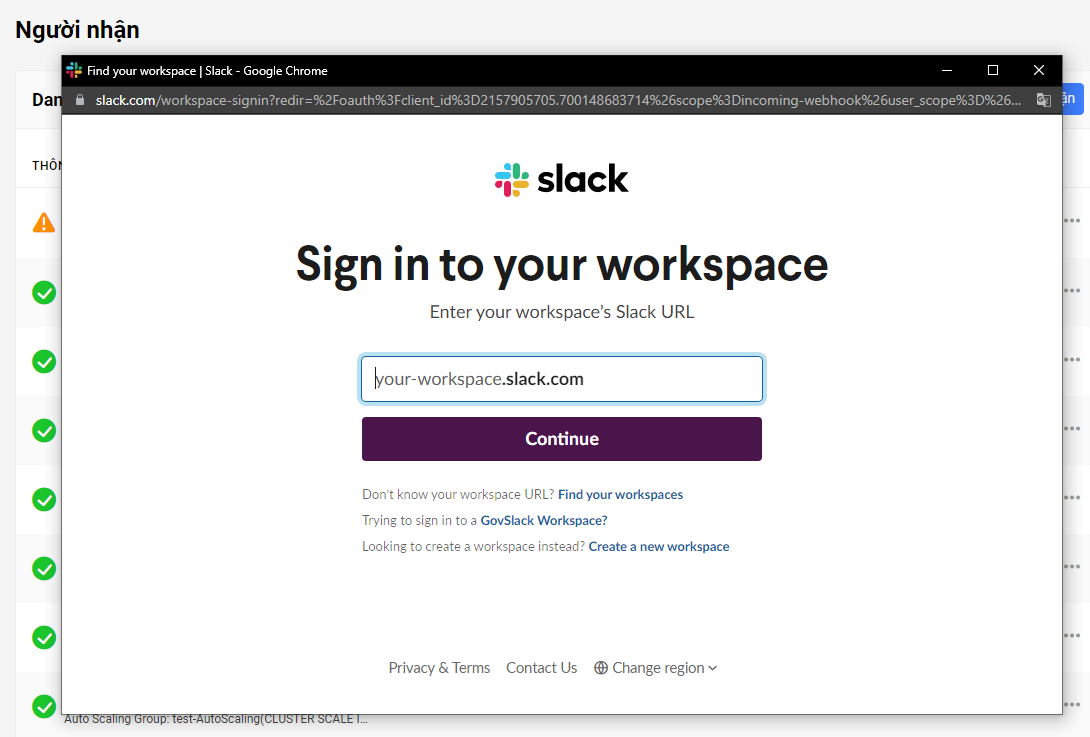
Click on the recipient to connect to Slack. Select the channel used to receive alerts, then select Allow
Return to the Recipients management page, press F5.