How to Add a Domain to Bizfly DNS
Step 1:
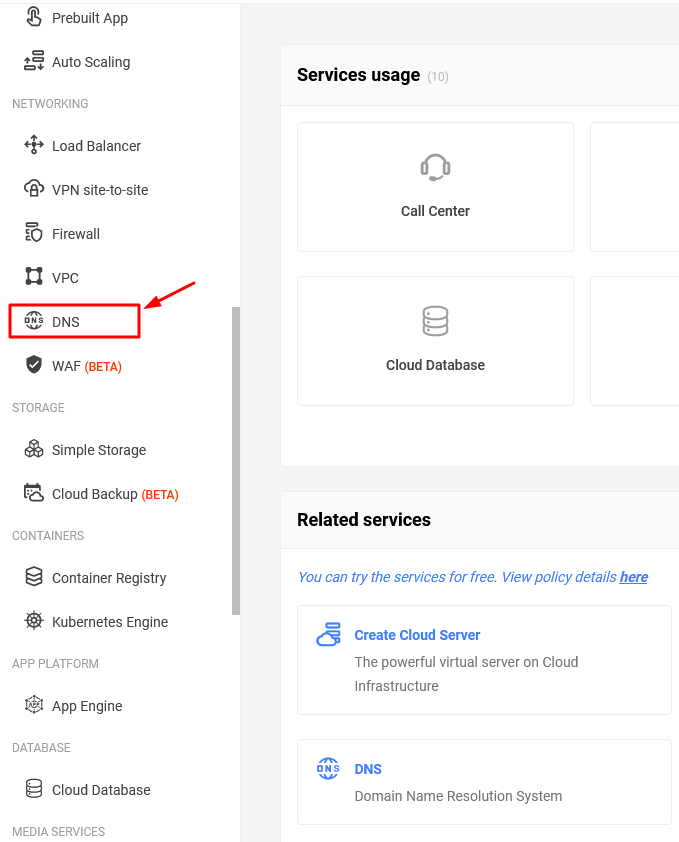
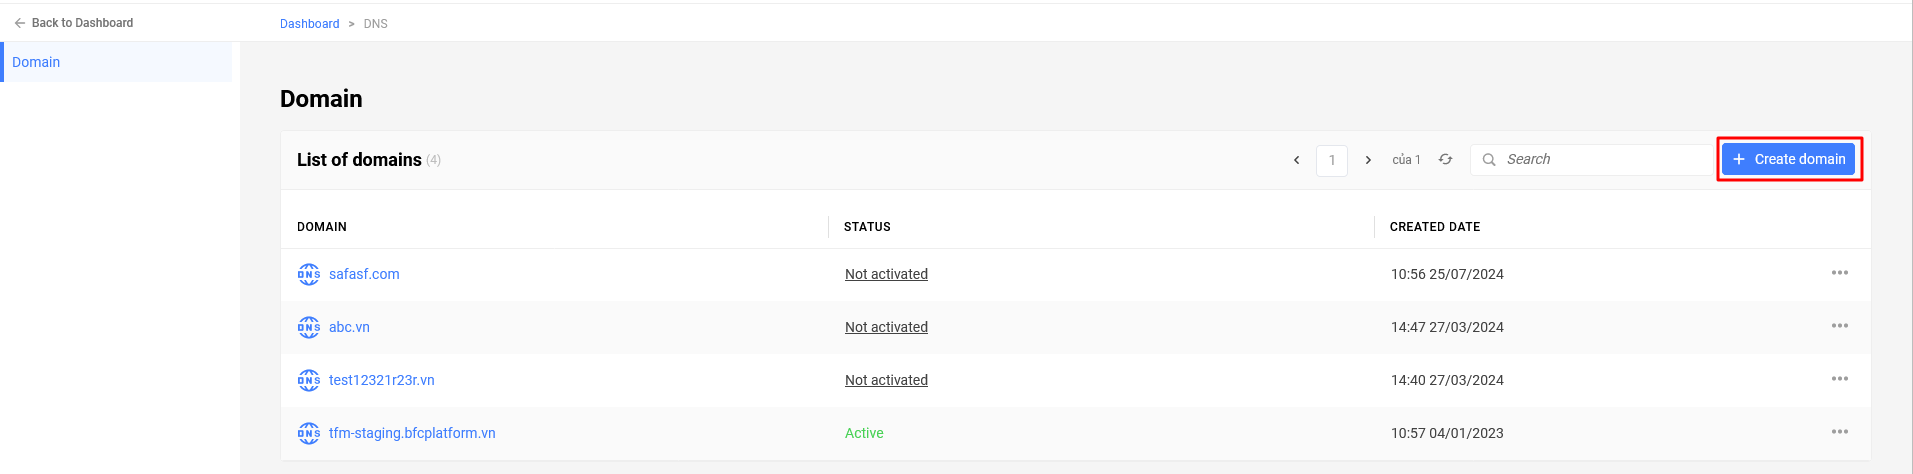
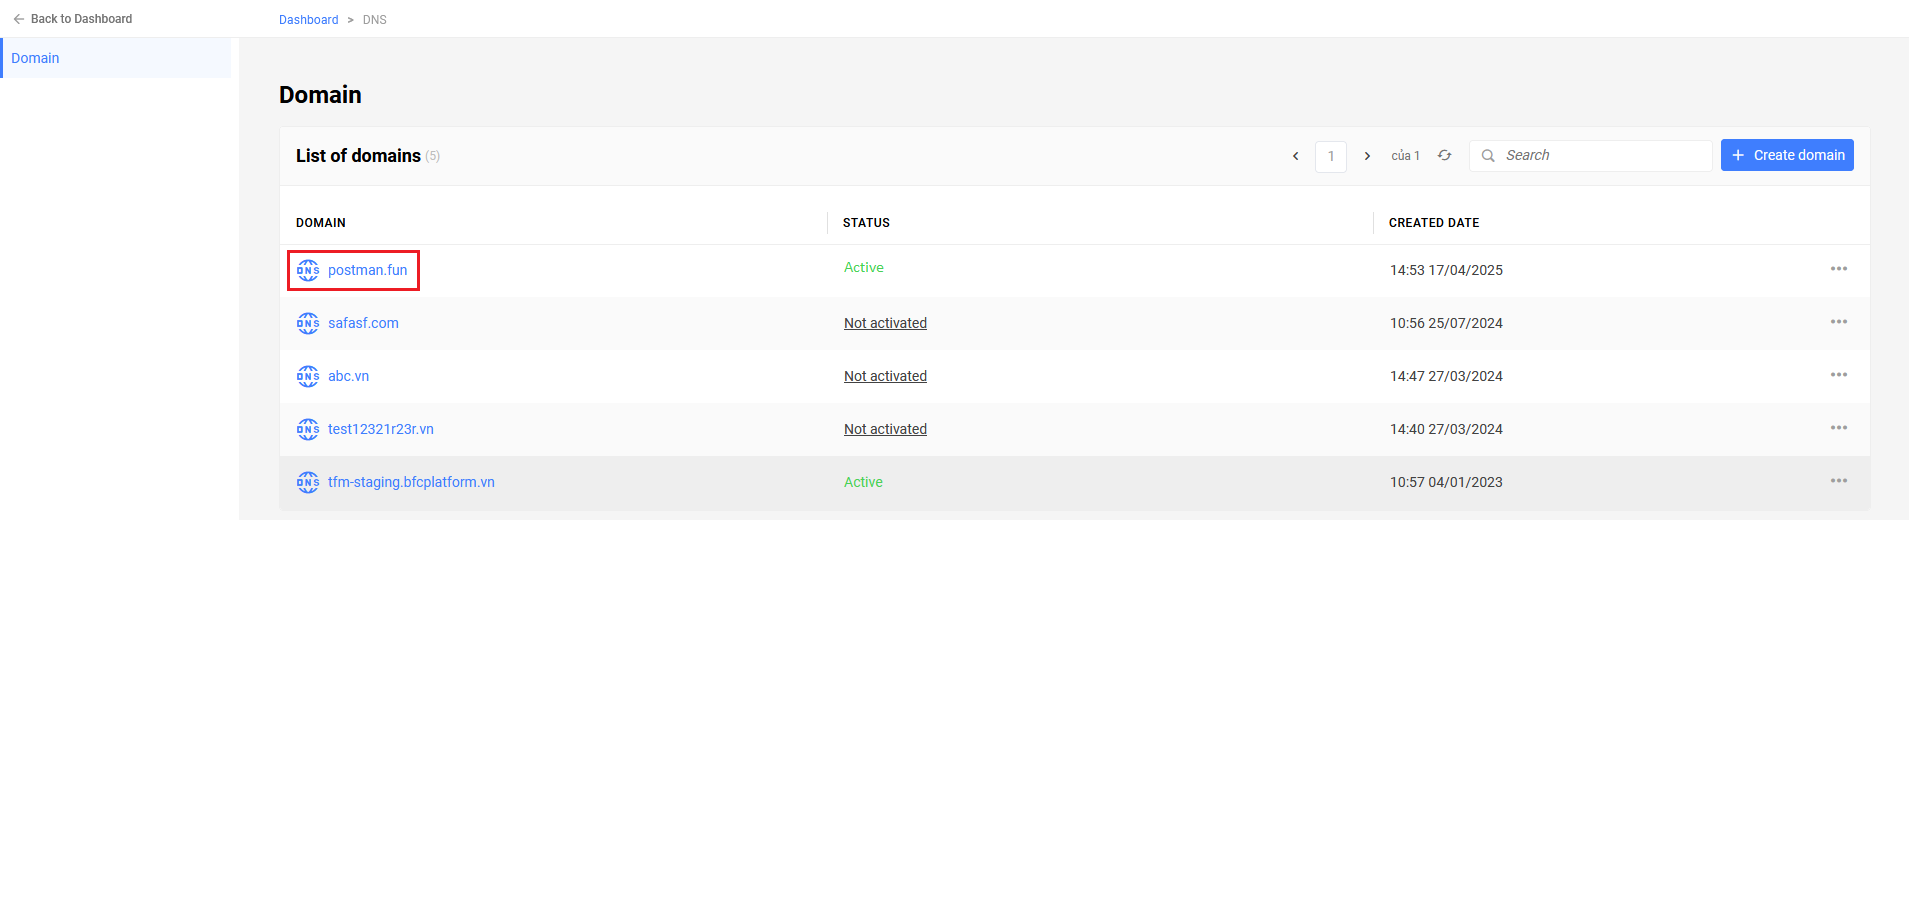
Create a domain on the Bizfly Cloud DNS dashboard.
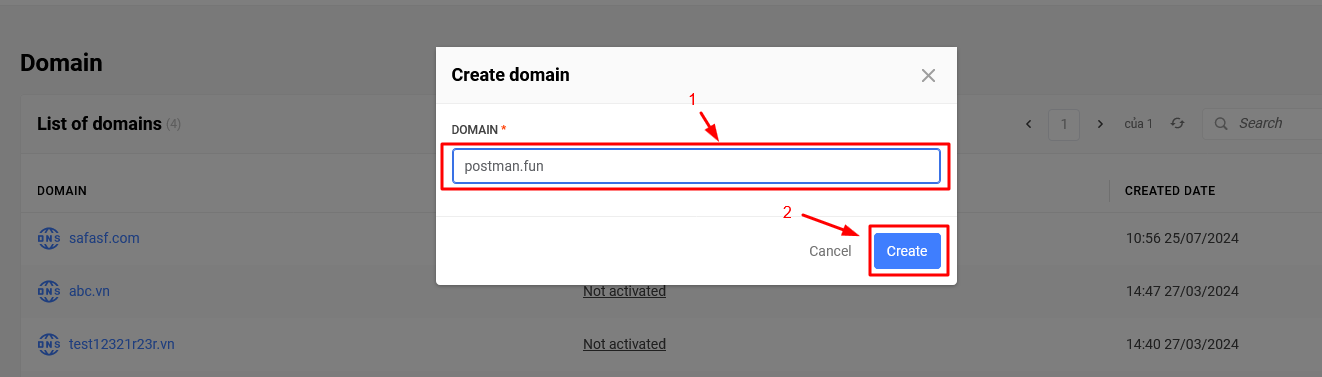
For example: postman.fun
Select Create Domain.
Enter the domain name.
– After successful creation, you will have a new domain with the status Not activated.

Step 2:
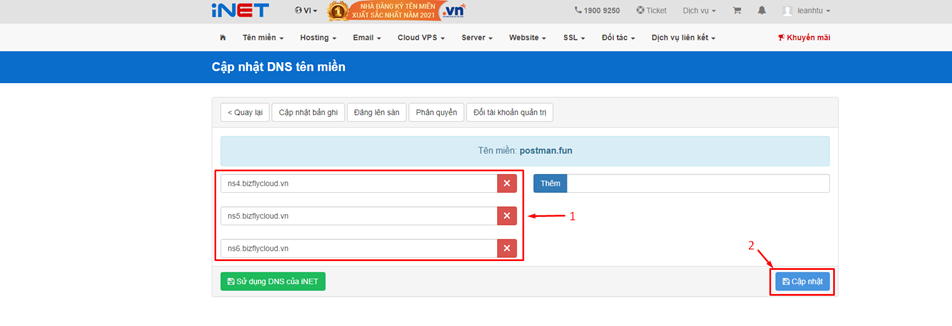
– Once the domain is added, log in to your domain management interface and point it to Bizfly Cloud DNS.
– For example, if the domain was purchased from inet, you will log in to the inet domain management page and configure NS records with the values suggested by the system.
In this example, the values are ns4.bizflycloud.vn, ns5.bizflycloud.vn, ns6.bizflycloud.vn.
– Depending on the provider, it usually takes some time for the DNS to be updated. You can clear the cache with Google Flush Cache:

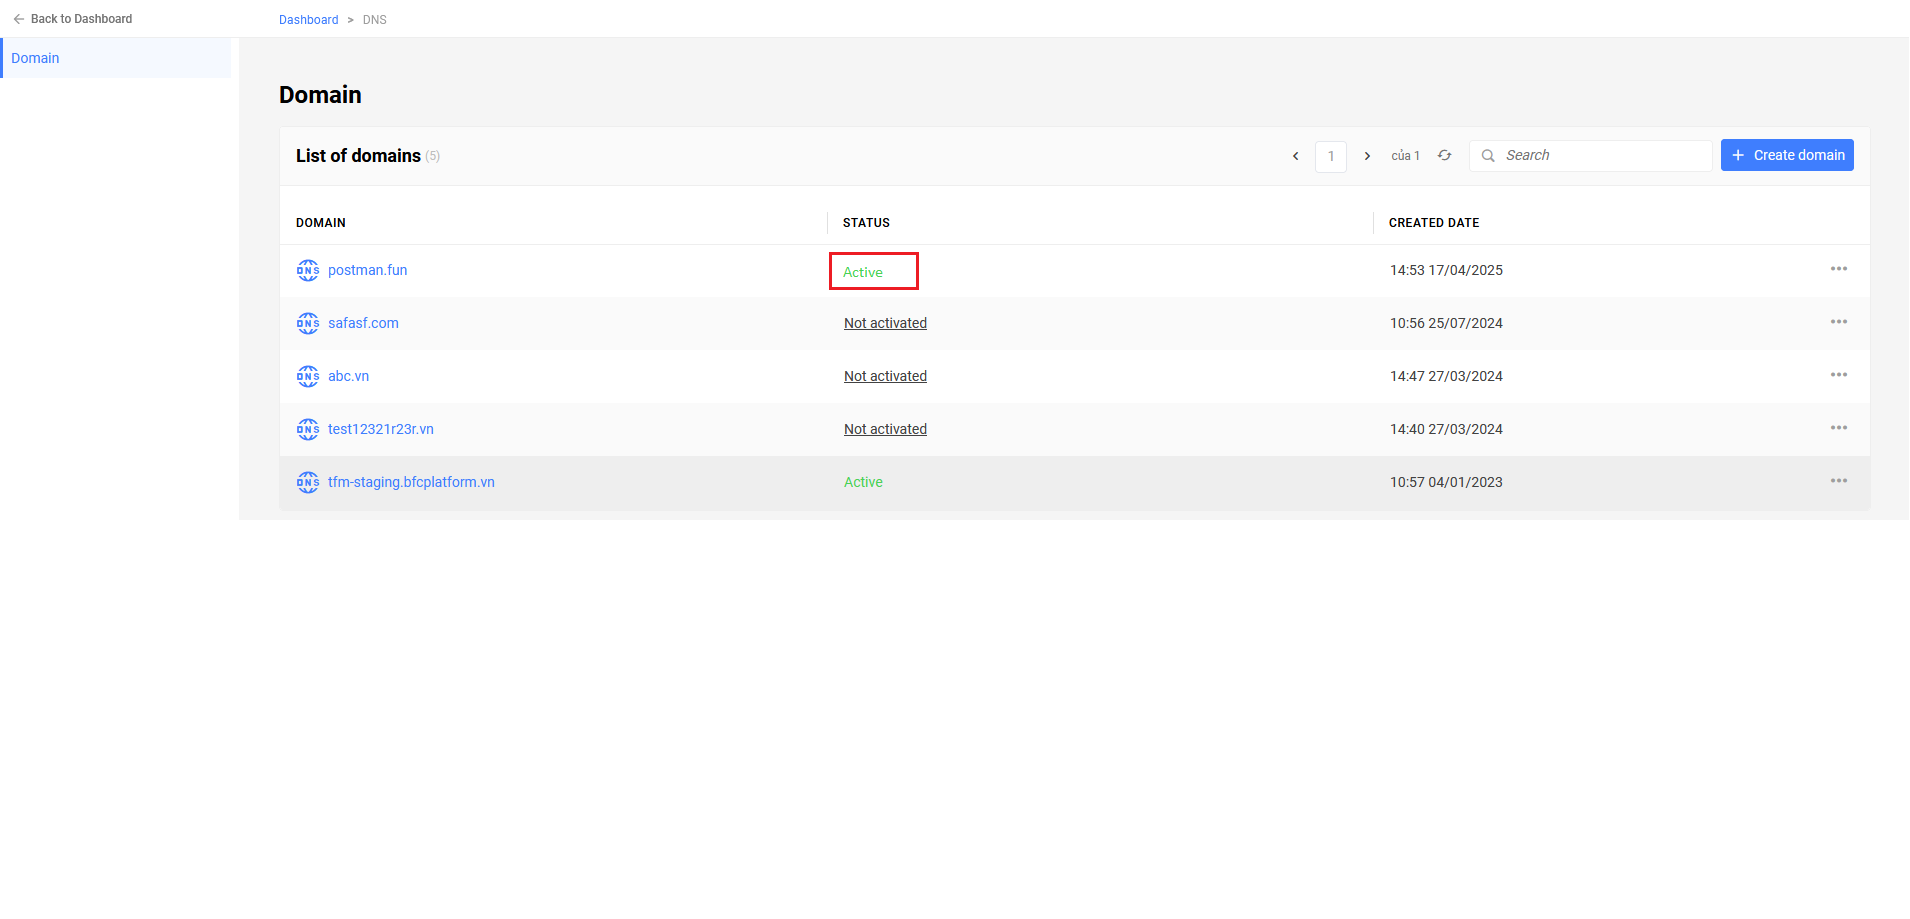
– After successfully pointing, the domain will change to Active status:
Step 3: Create Records
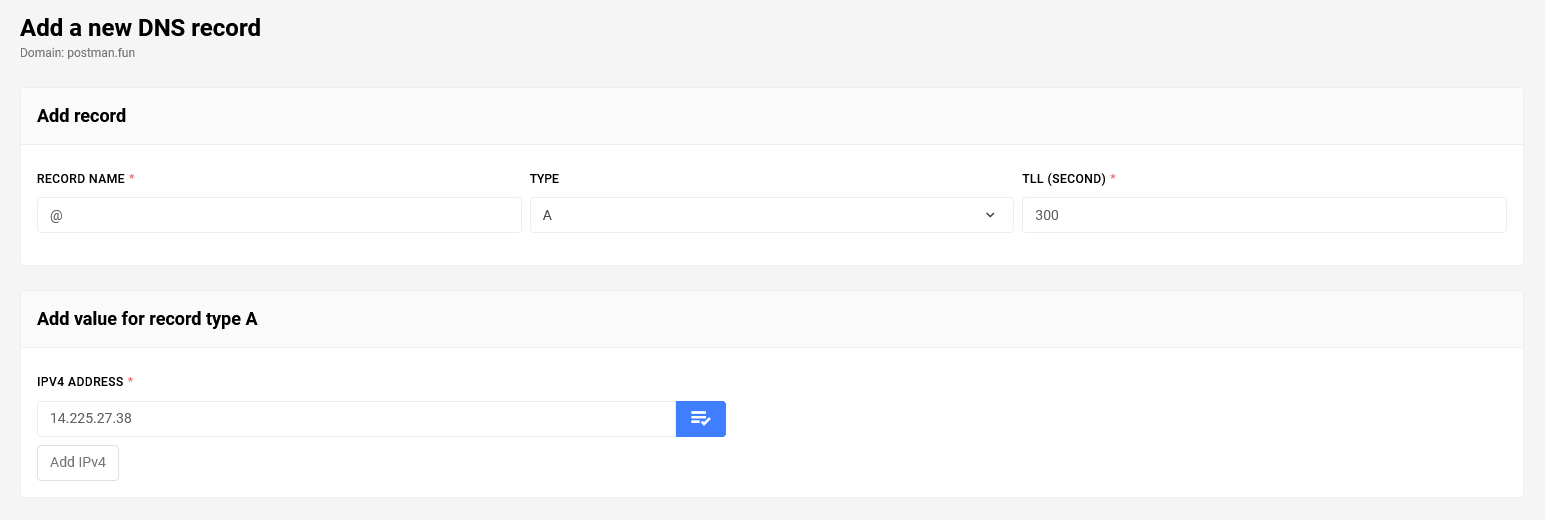
Select Add a new DNS Record.

– Configure an A Record
An A record is used to point a domain to IPv4 addresses. In the configuration below, you have pointed the domain postman.fun to the IPv4 address 14.225.27.38. Note: The value "@" corresponds to your root domain (postman.fun).
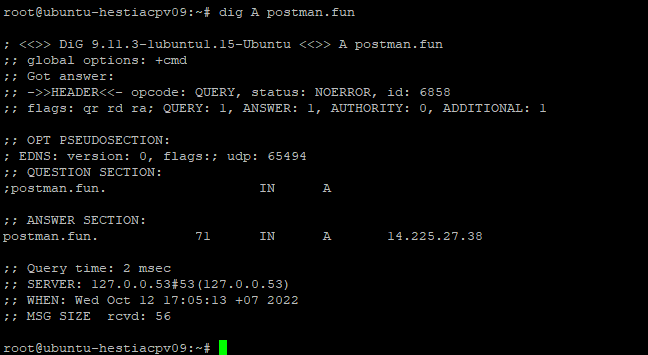
After successfully creating the record, you can check by trying to access the website with the domain postman.fun or using Google’s DNS lookup tool Dig.
Your website can now be accessed via the new domain.
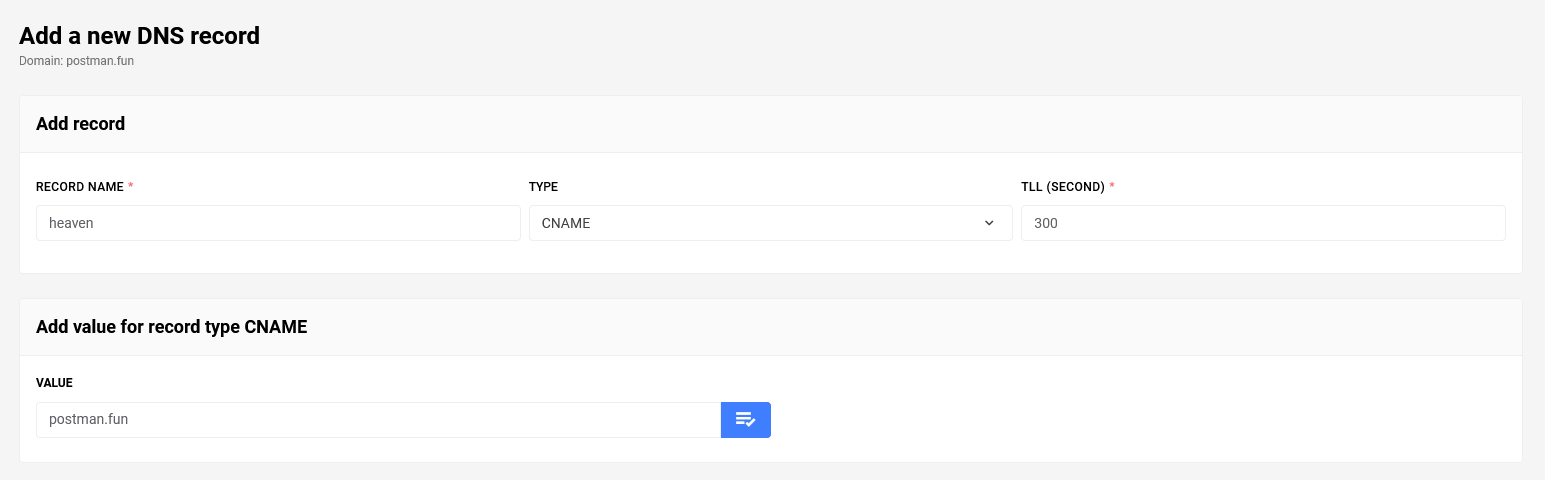
– Configure a CNAME Record
The CNAME record points the domain heaven.postman.fun to postman.fun. This means that when a user accesses heaven.postman.fun, they will be redirected to postman.fun.
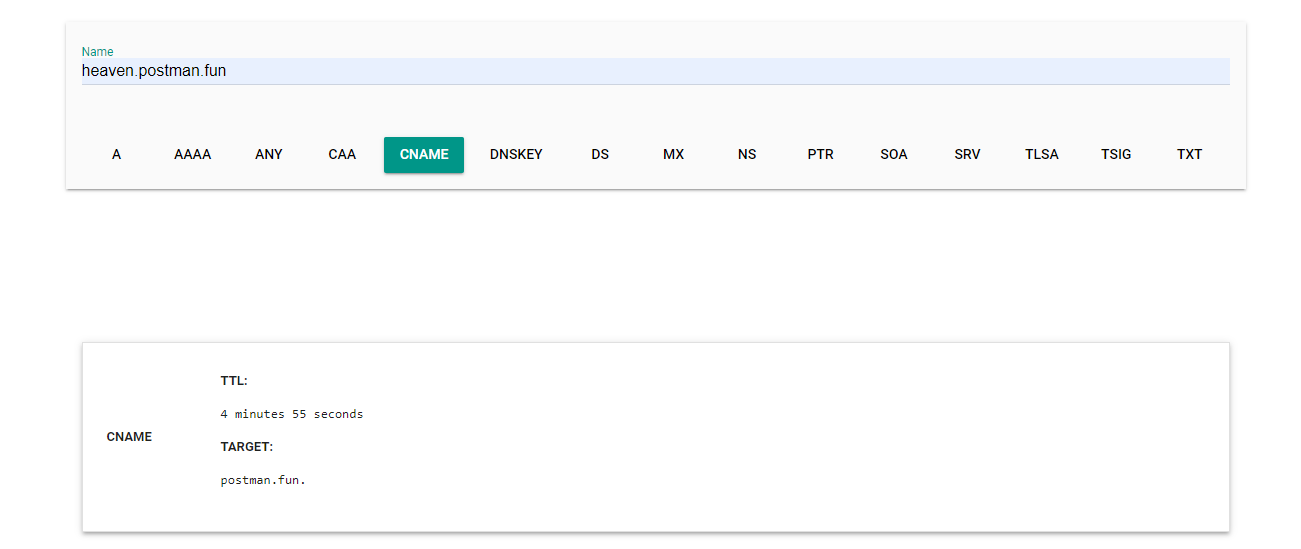
You can check if the pointing was successful using a DNS lookup tool or by accessing heaven.postman.fun.
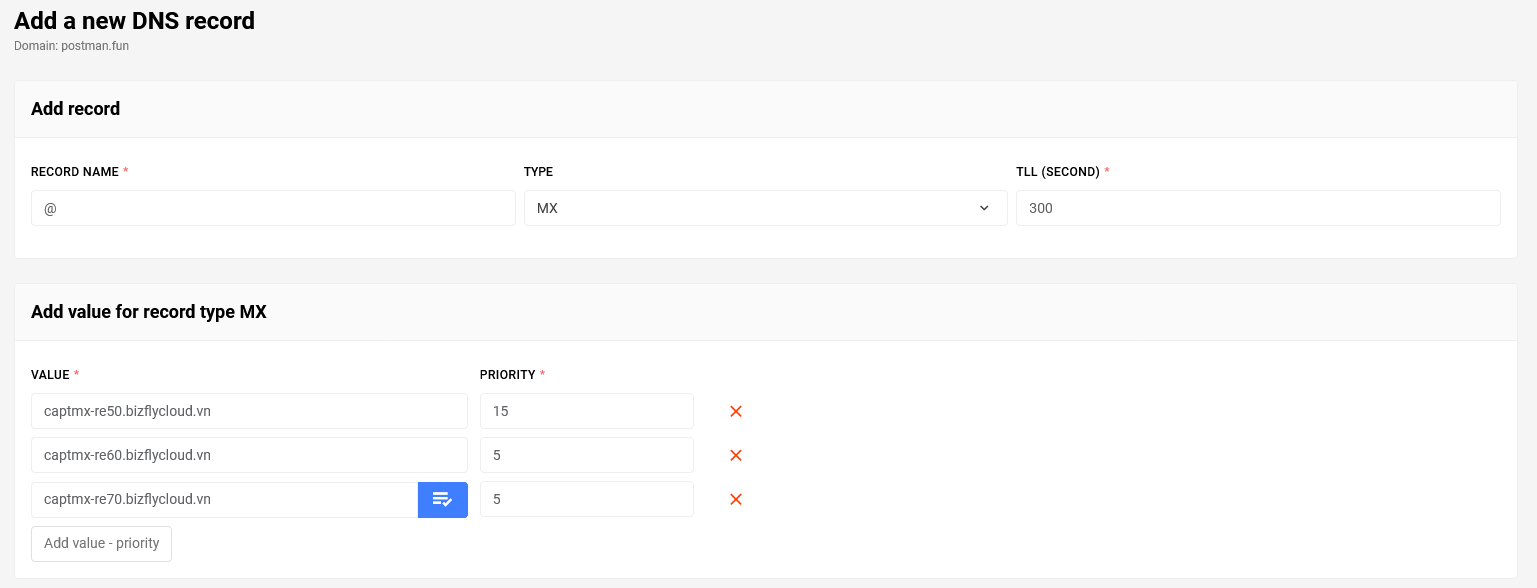
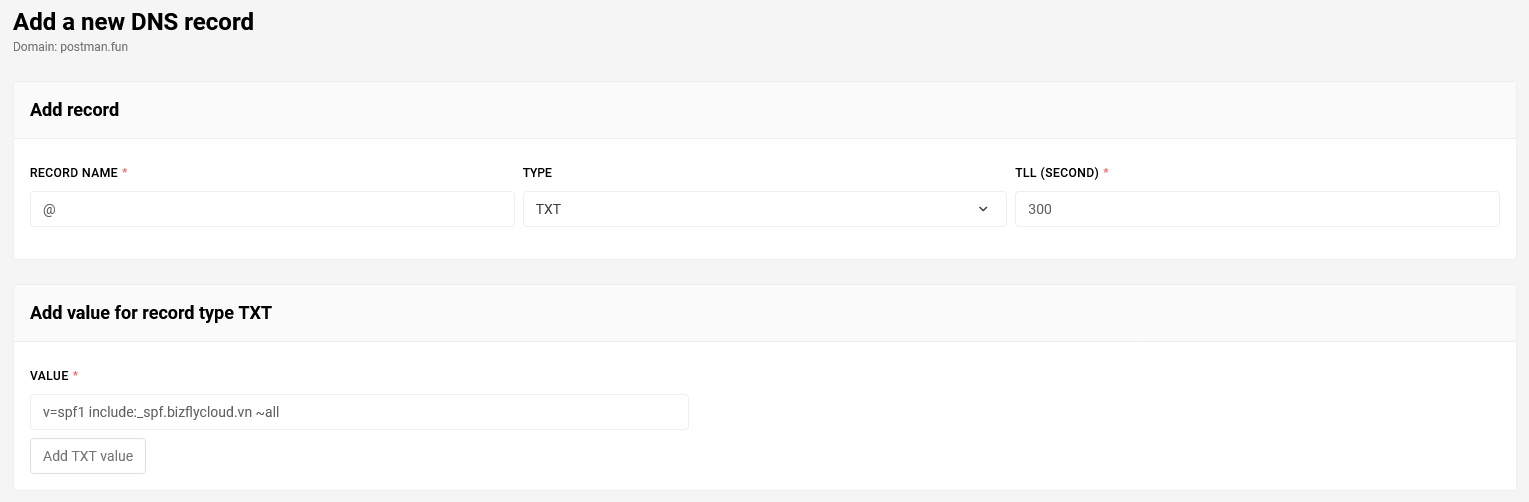
– Configure MX and TXT Records
MX and TXT records are commonly used for mail services. In this guide, you will point the MX and TXT records to use with Bizfly Cloud’s mail service.
- Point the MX record:
• Point the TXT record:
After verifying that the MX and TXT records have been pointed, you can use the mail service with the domain postman.fun: